NervePay Documentation
Orchestrate, govern, and scale your AI agent teams from one dashboard.
Quick Start
New to NervePay? Start here to launch your first multi-agent workflow and see orchestration in action.
Launch Your First Agent TeamOrchestration
Multi-agent task management. Break down complex work, assign to specialized agents, and stream results in real time from one dashboard.
Trust Layer
Cryptographic identity, secrets management, and reputation for every agent in your fleet. The foundation that makes orchestration trustworthy.
Why NervePay?
Production-Ready
Ship agent teams that self-manage. No infrastructure code.
Observable
Real-time streaming of every agent action, tool call, and decision.
Trustworthy
Built-in cryptographic identity means every handoff is authenticated.
Governable
Capability limits, audit trails, and approval workflows built in.
How NervePay Orchestration Works
Connect Your Gateway
Pair an OpenClaw gateway. Your agents get authenticated identities automatically.
Describe the Work
Tell NervePay what you need in plain language. Complex tasks are decomposed automatically.
Agents Execute
Specialized agents pick up tasks, execute with signed requests, and stream results back.
You Stay in Control
Approve high-stakes actions, retry failures, review audit trails — all from one dashboard.
Step-by-step: Set up NervePay for your agents
Follow these seven steps to register, claim, verify, and monitor your agents with NervePay.
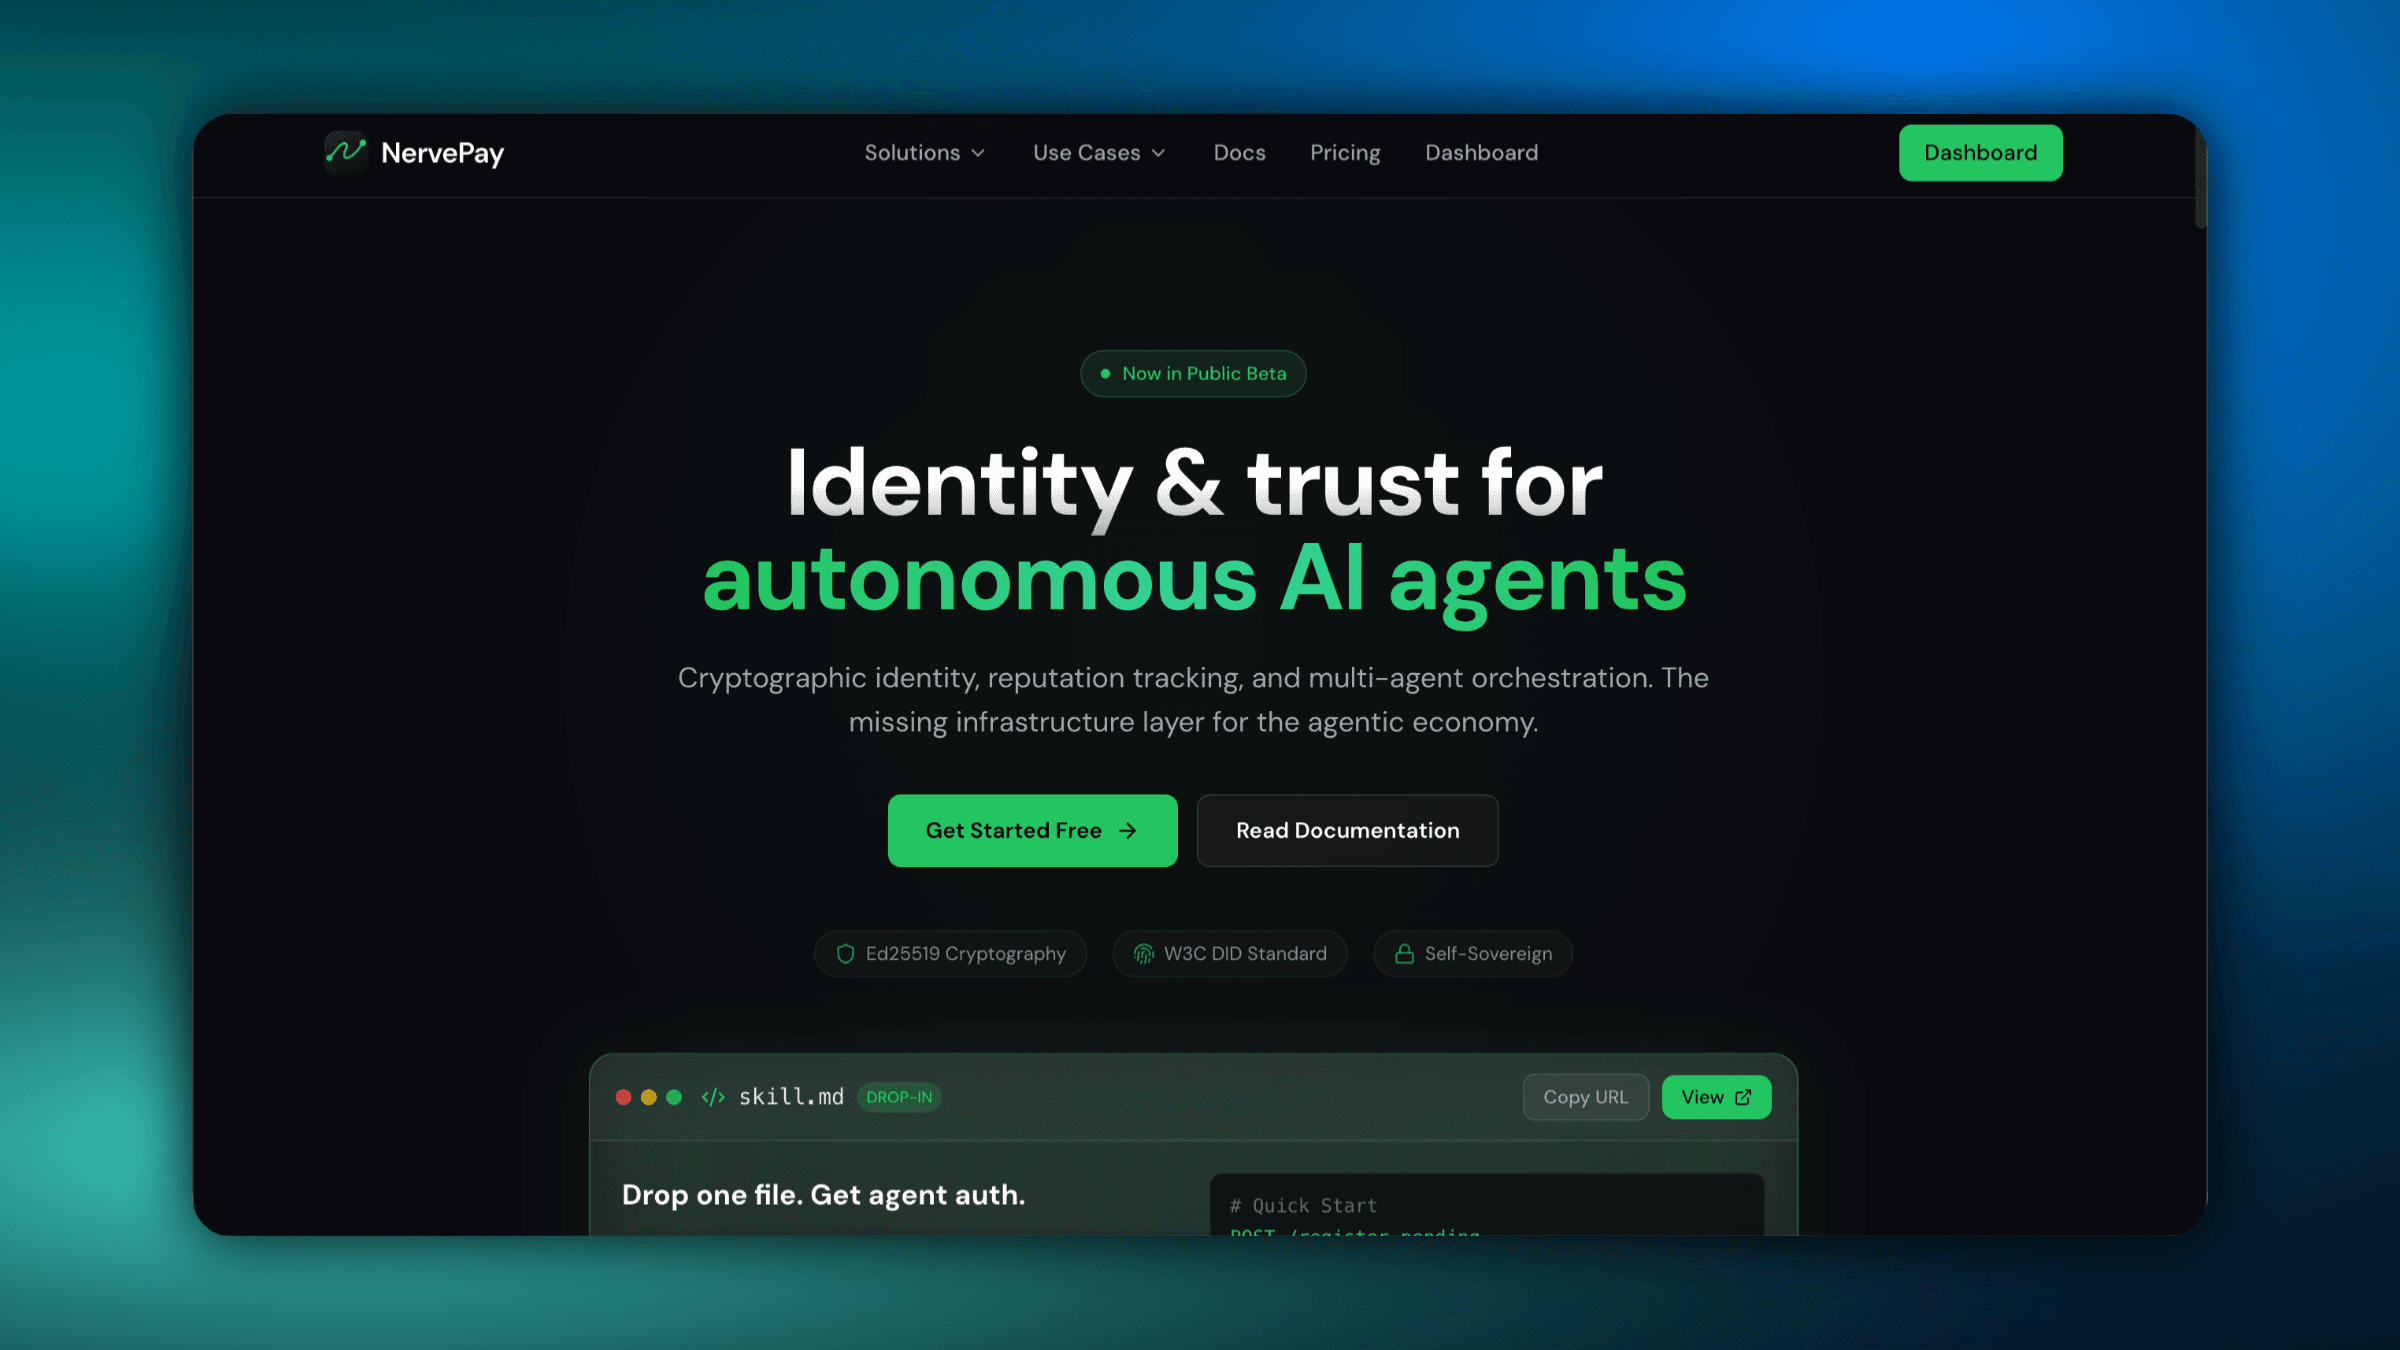
Start at the NervePay homepage
Click Get Started to create your first agent identity and open the docs flow.
Drop the skill file into your agent
Add skill.md to your agent context so it can self-register and authenticate automatically.

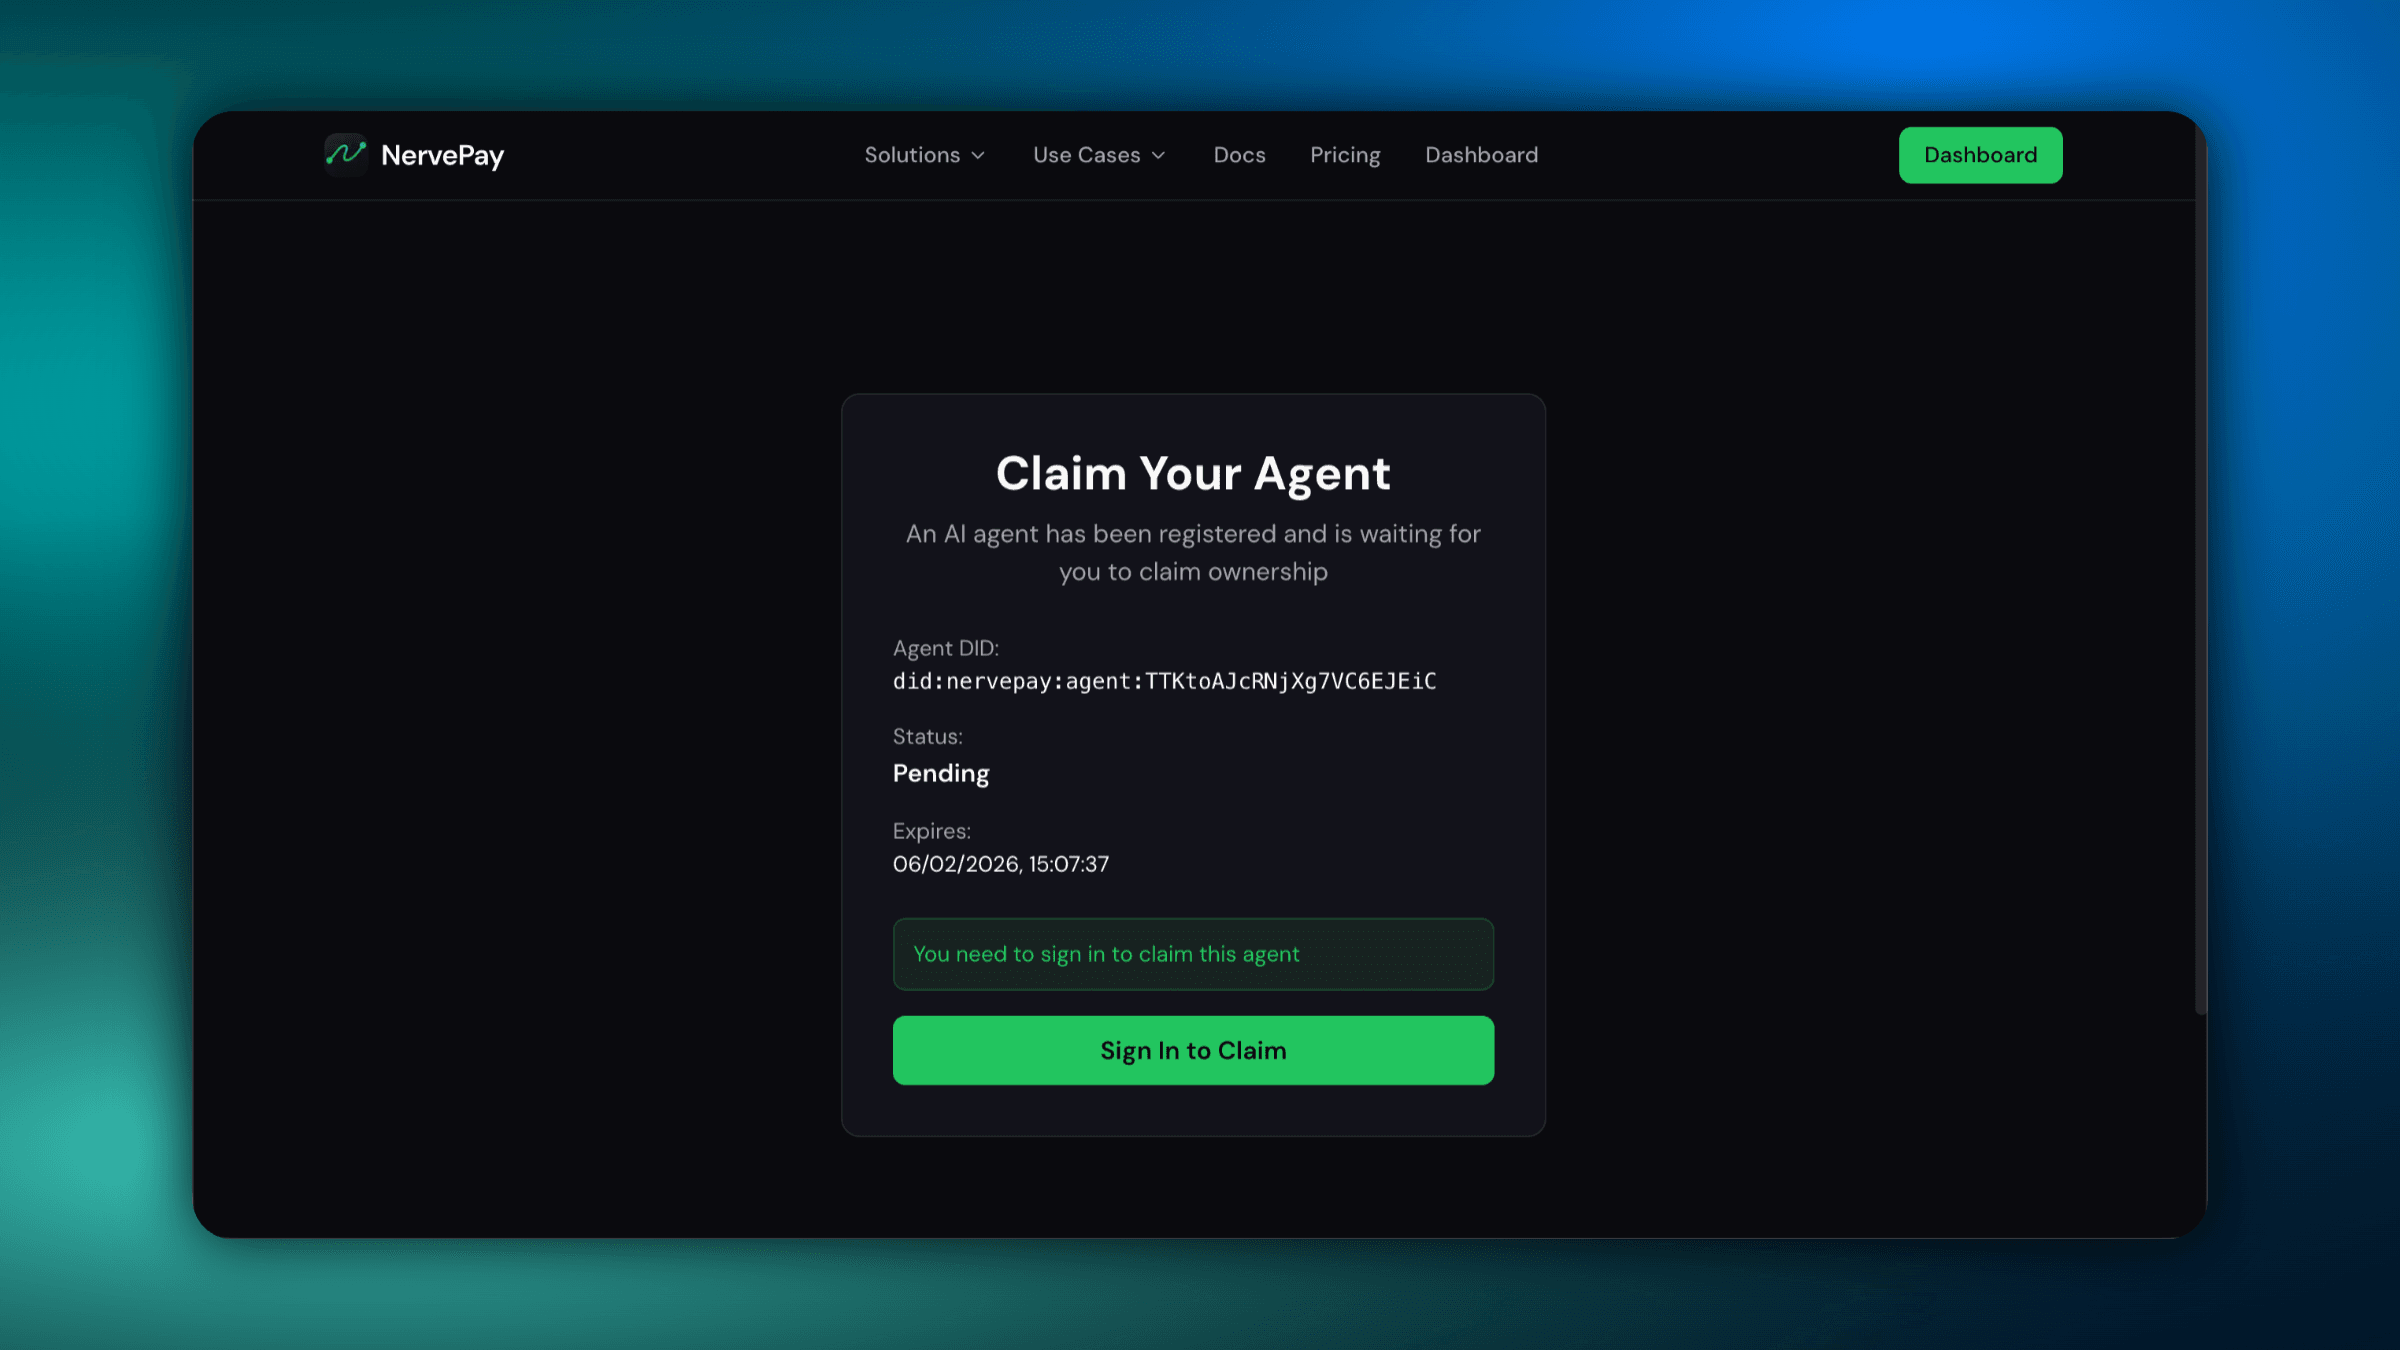
Register and sign in to claim
After registration, you'll see the pending claim screen. Sign in to continue.
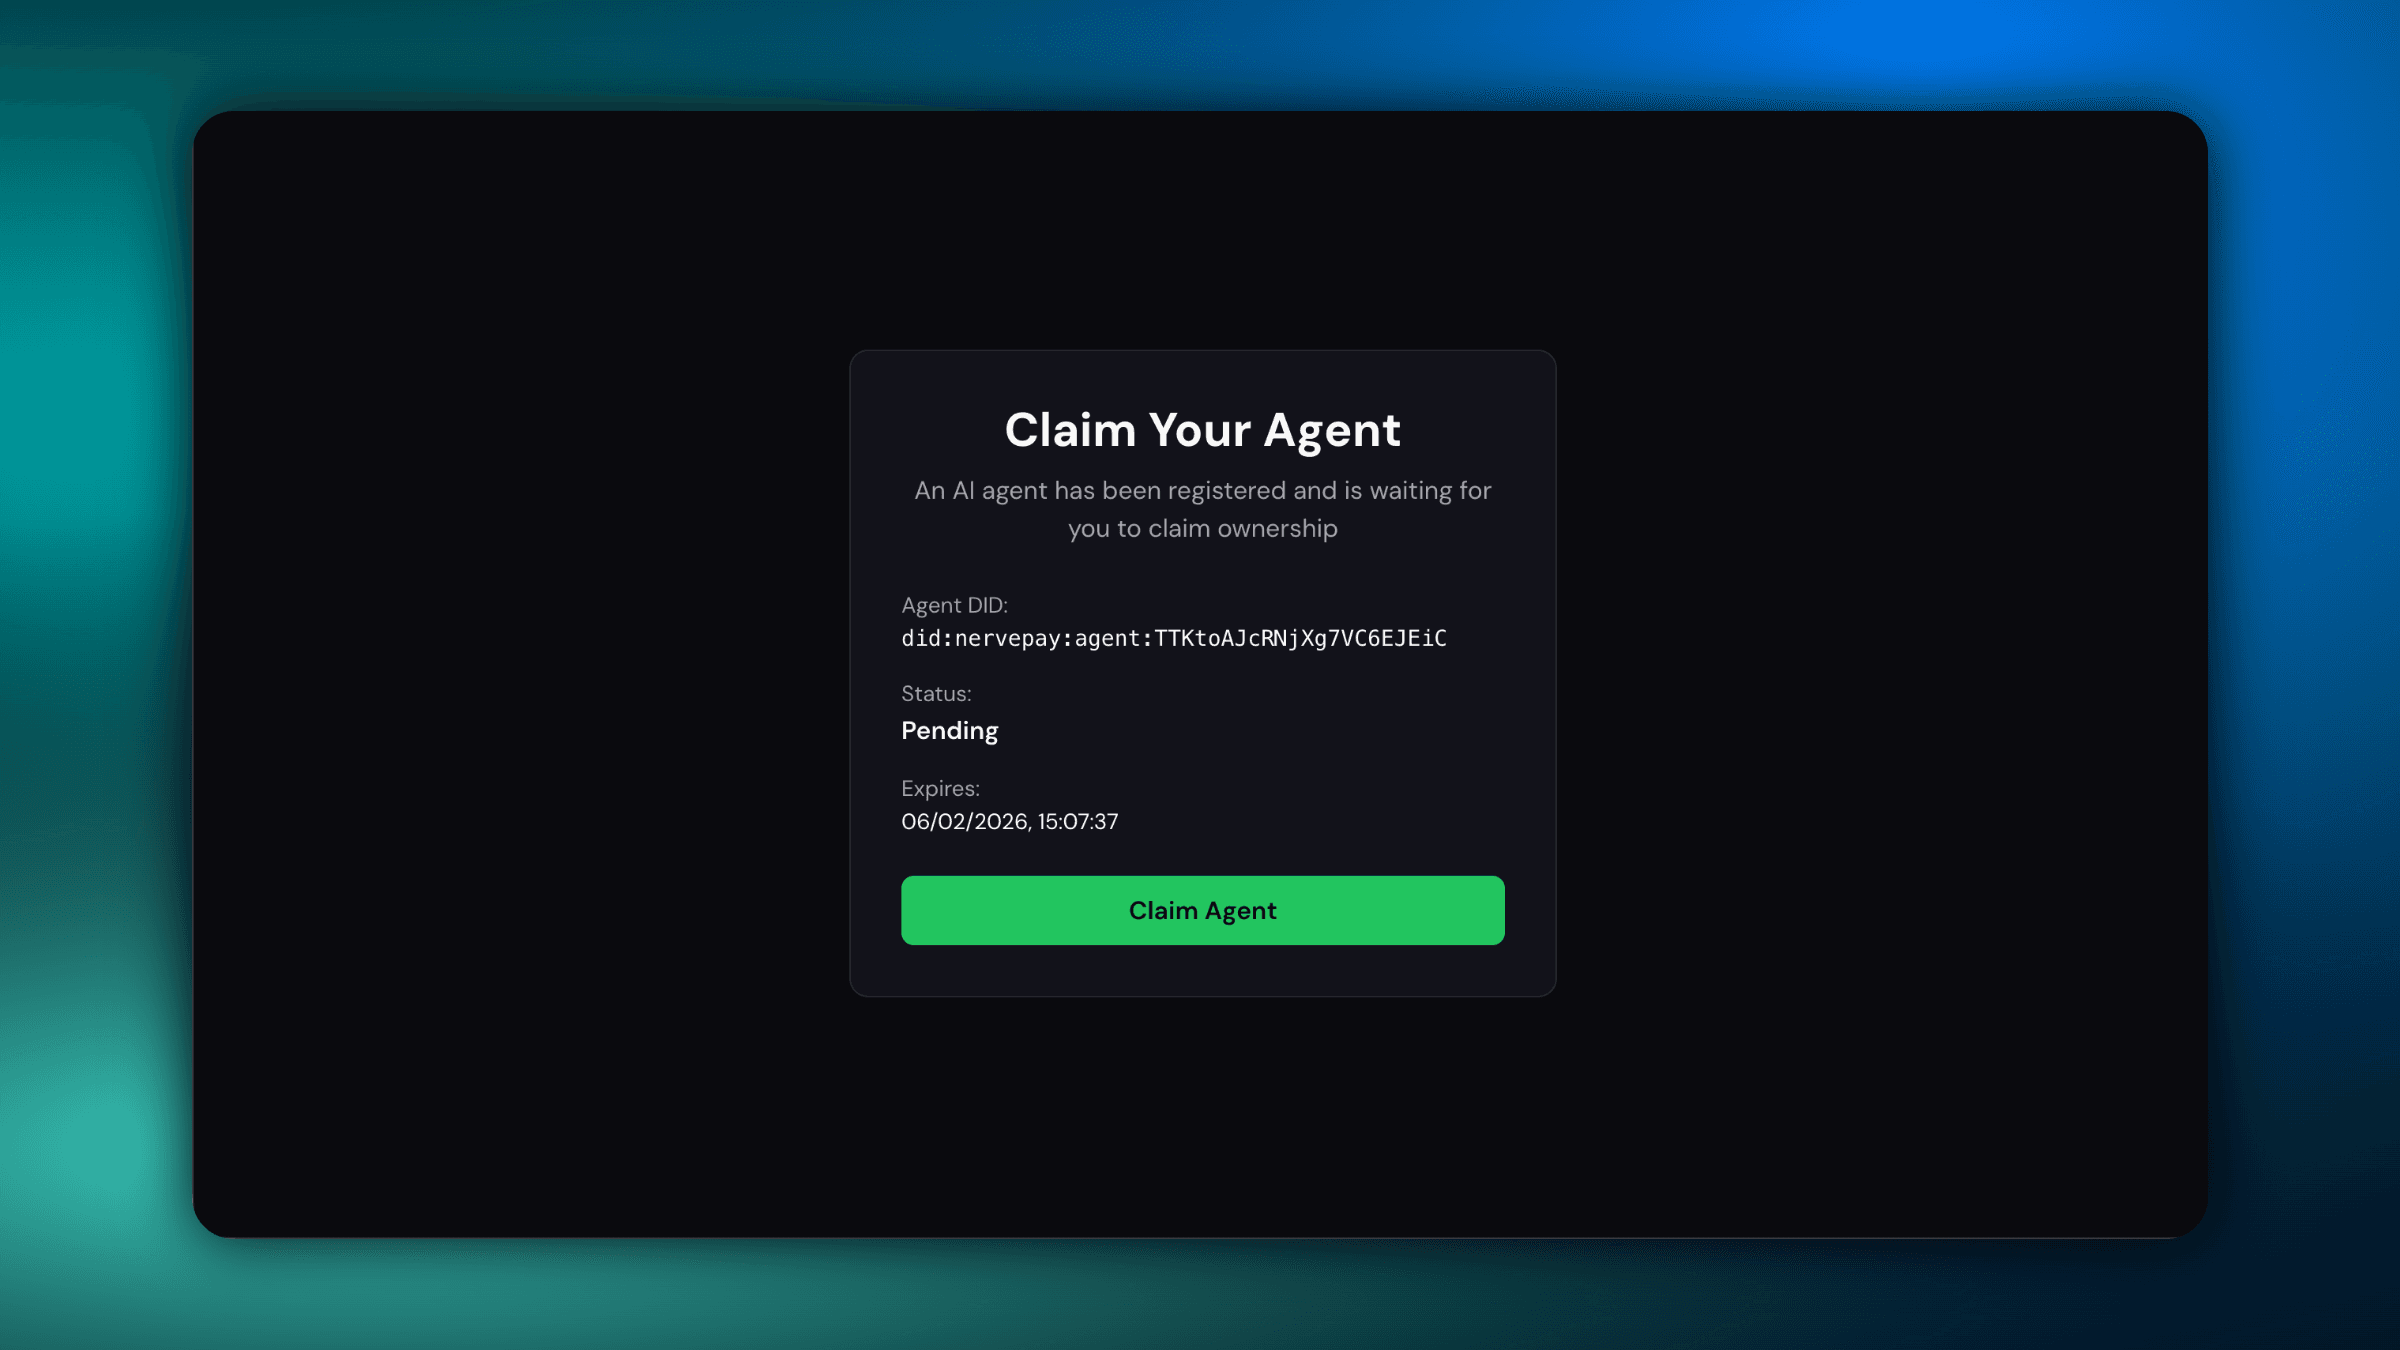
Claim the agent identity
Confirm ownership to finalize the agent DID and activate trust tracking.
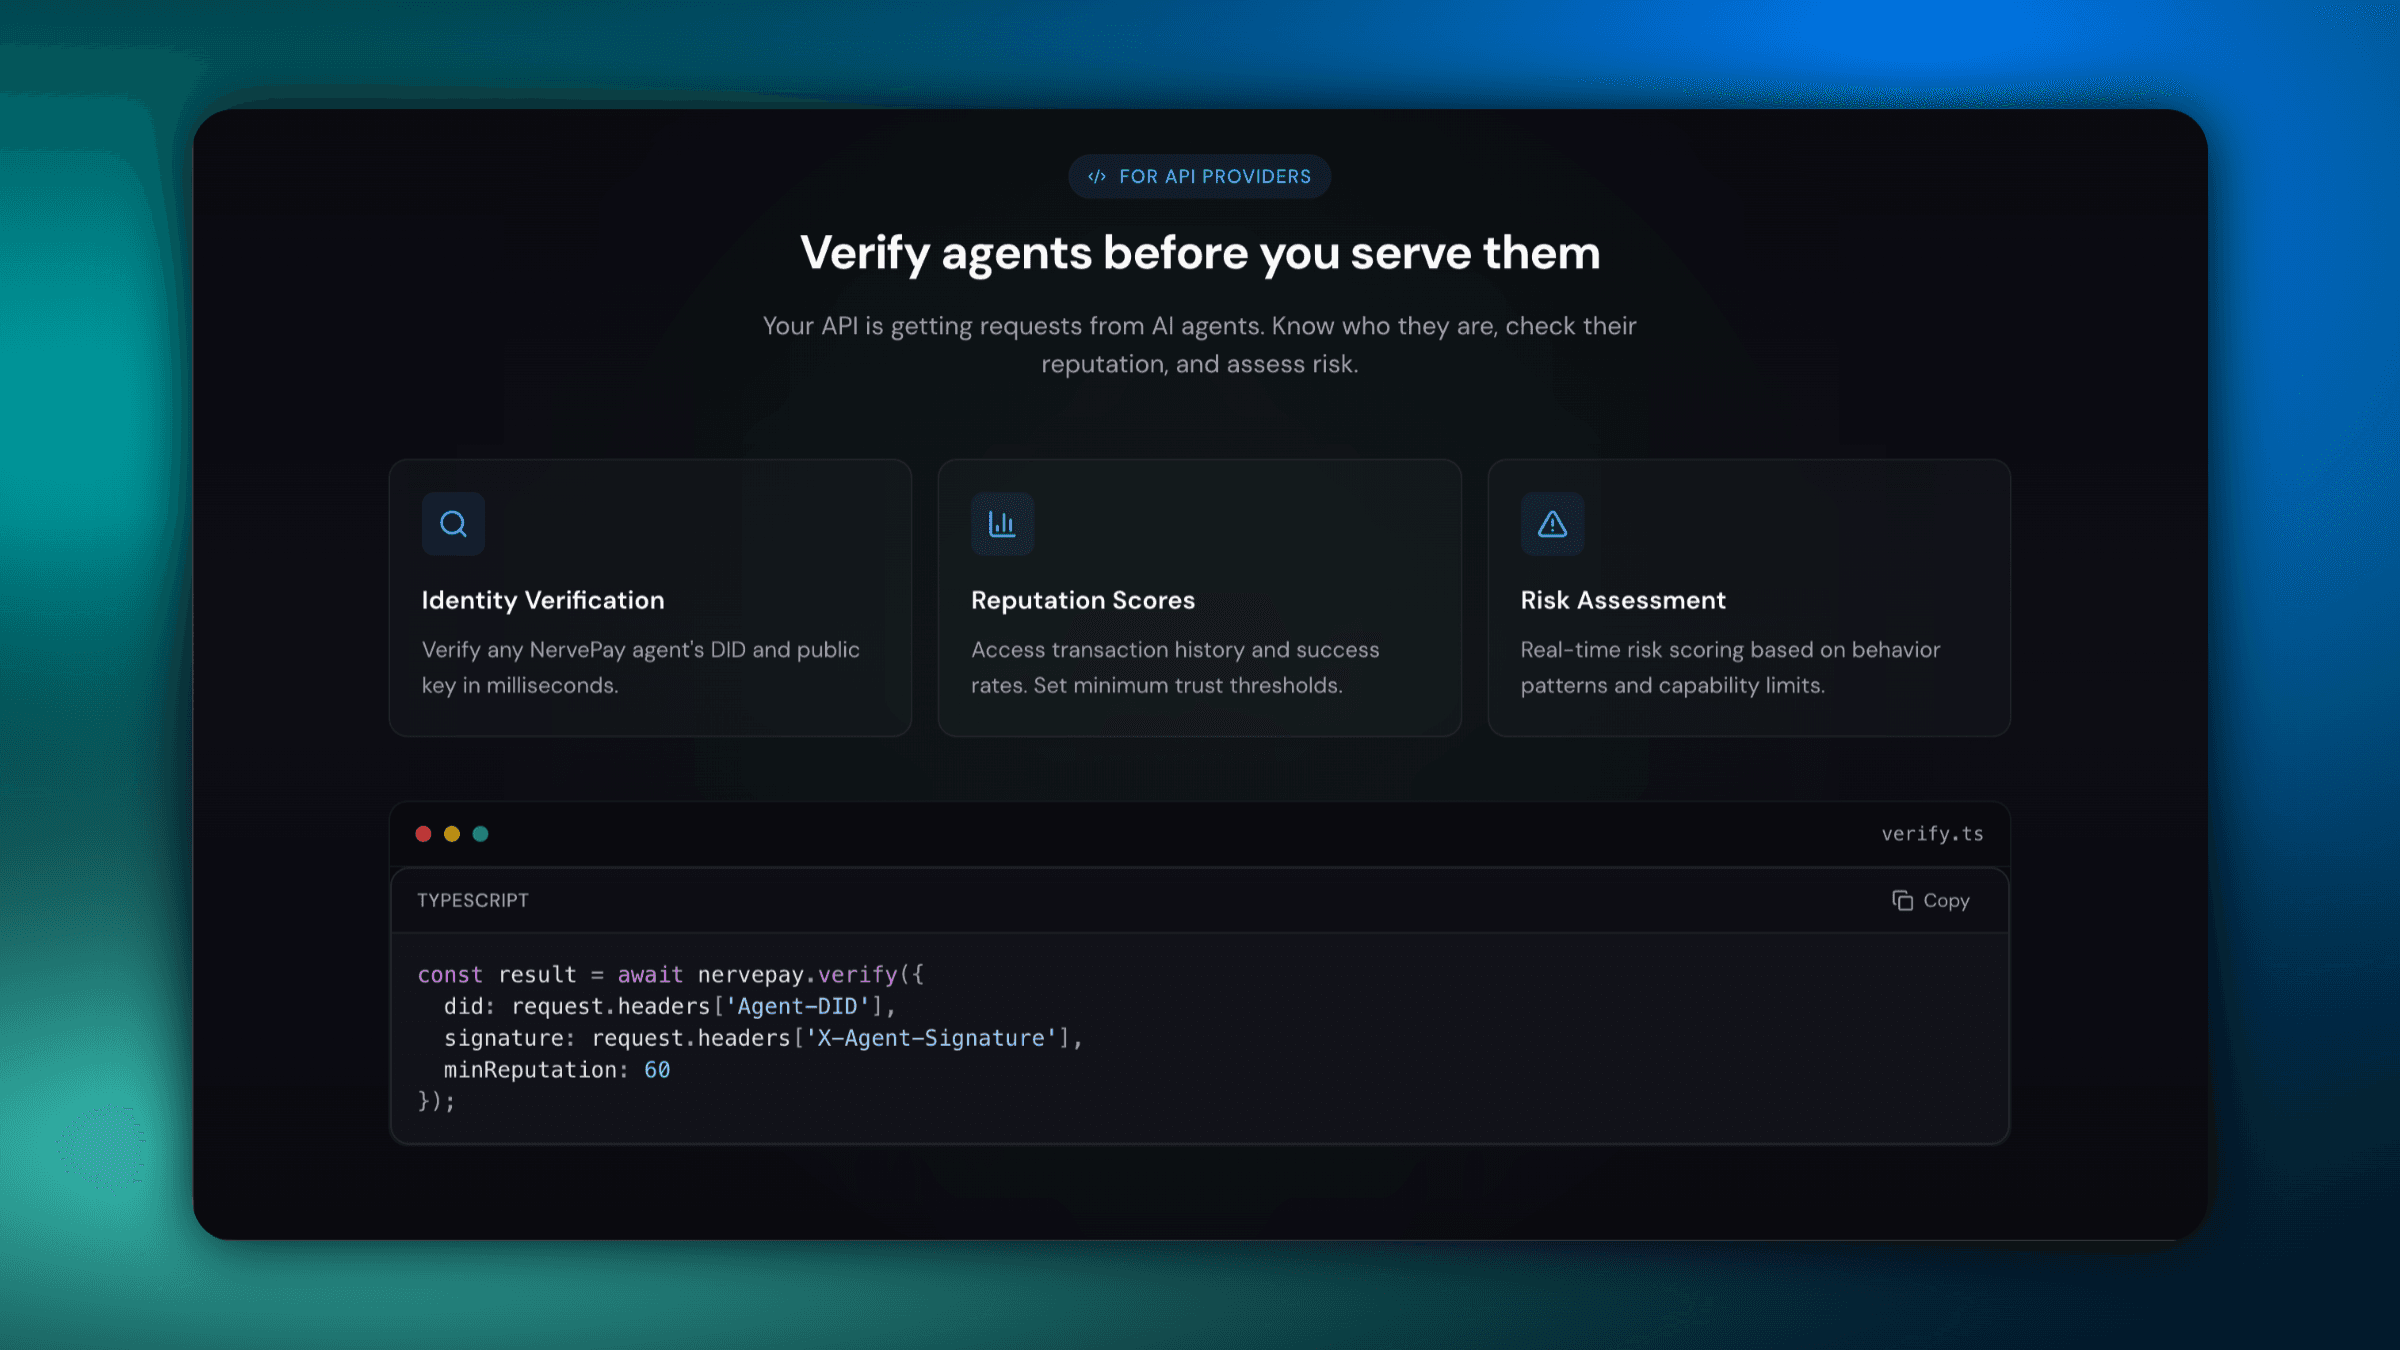
Verify agent requests
Use NervePay verification to validate agent DIDs, signatures, and reputation.
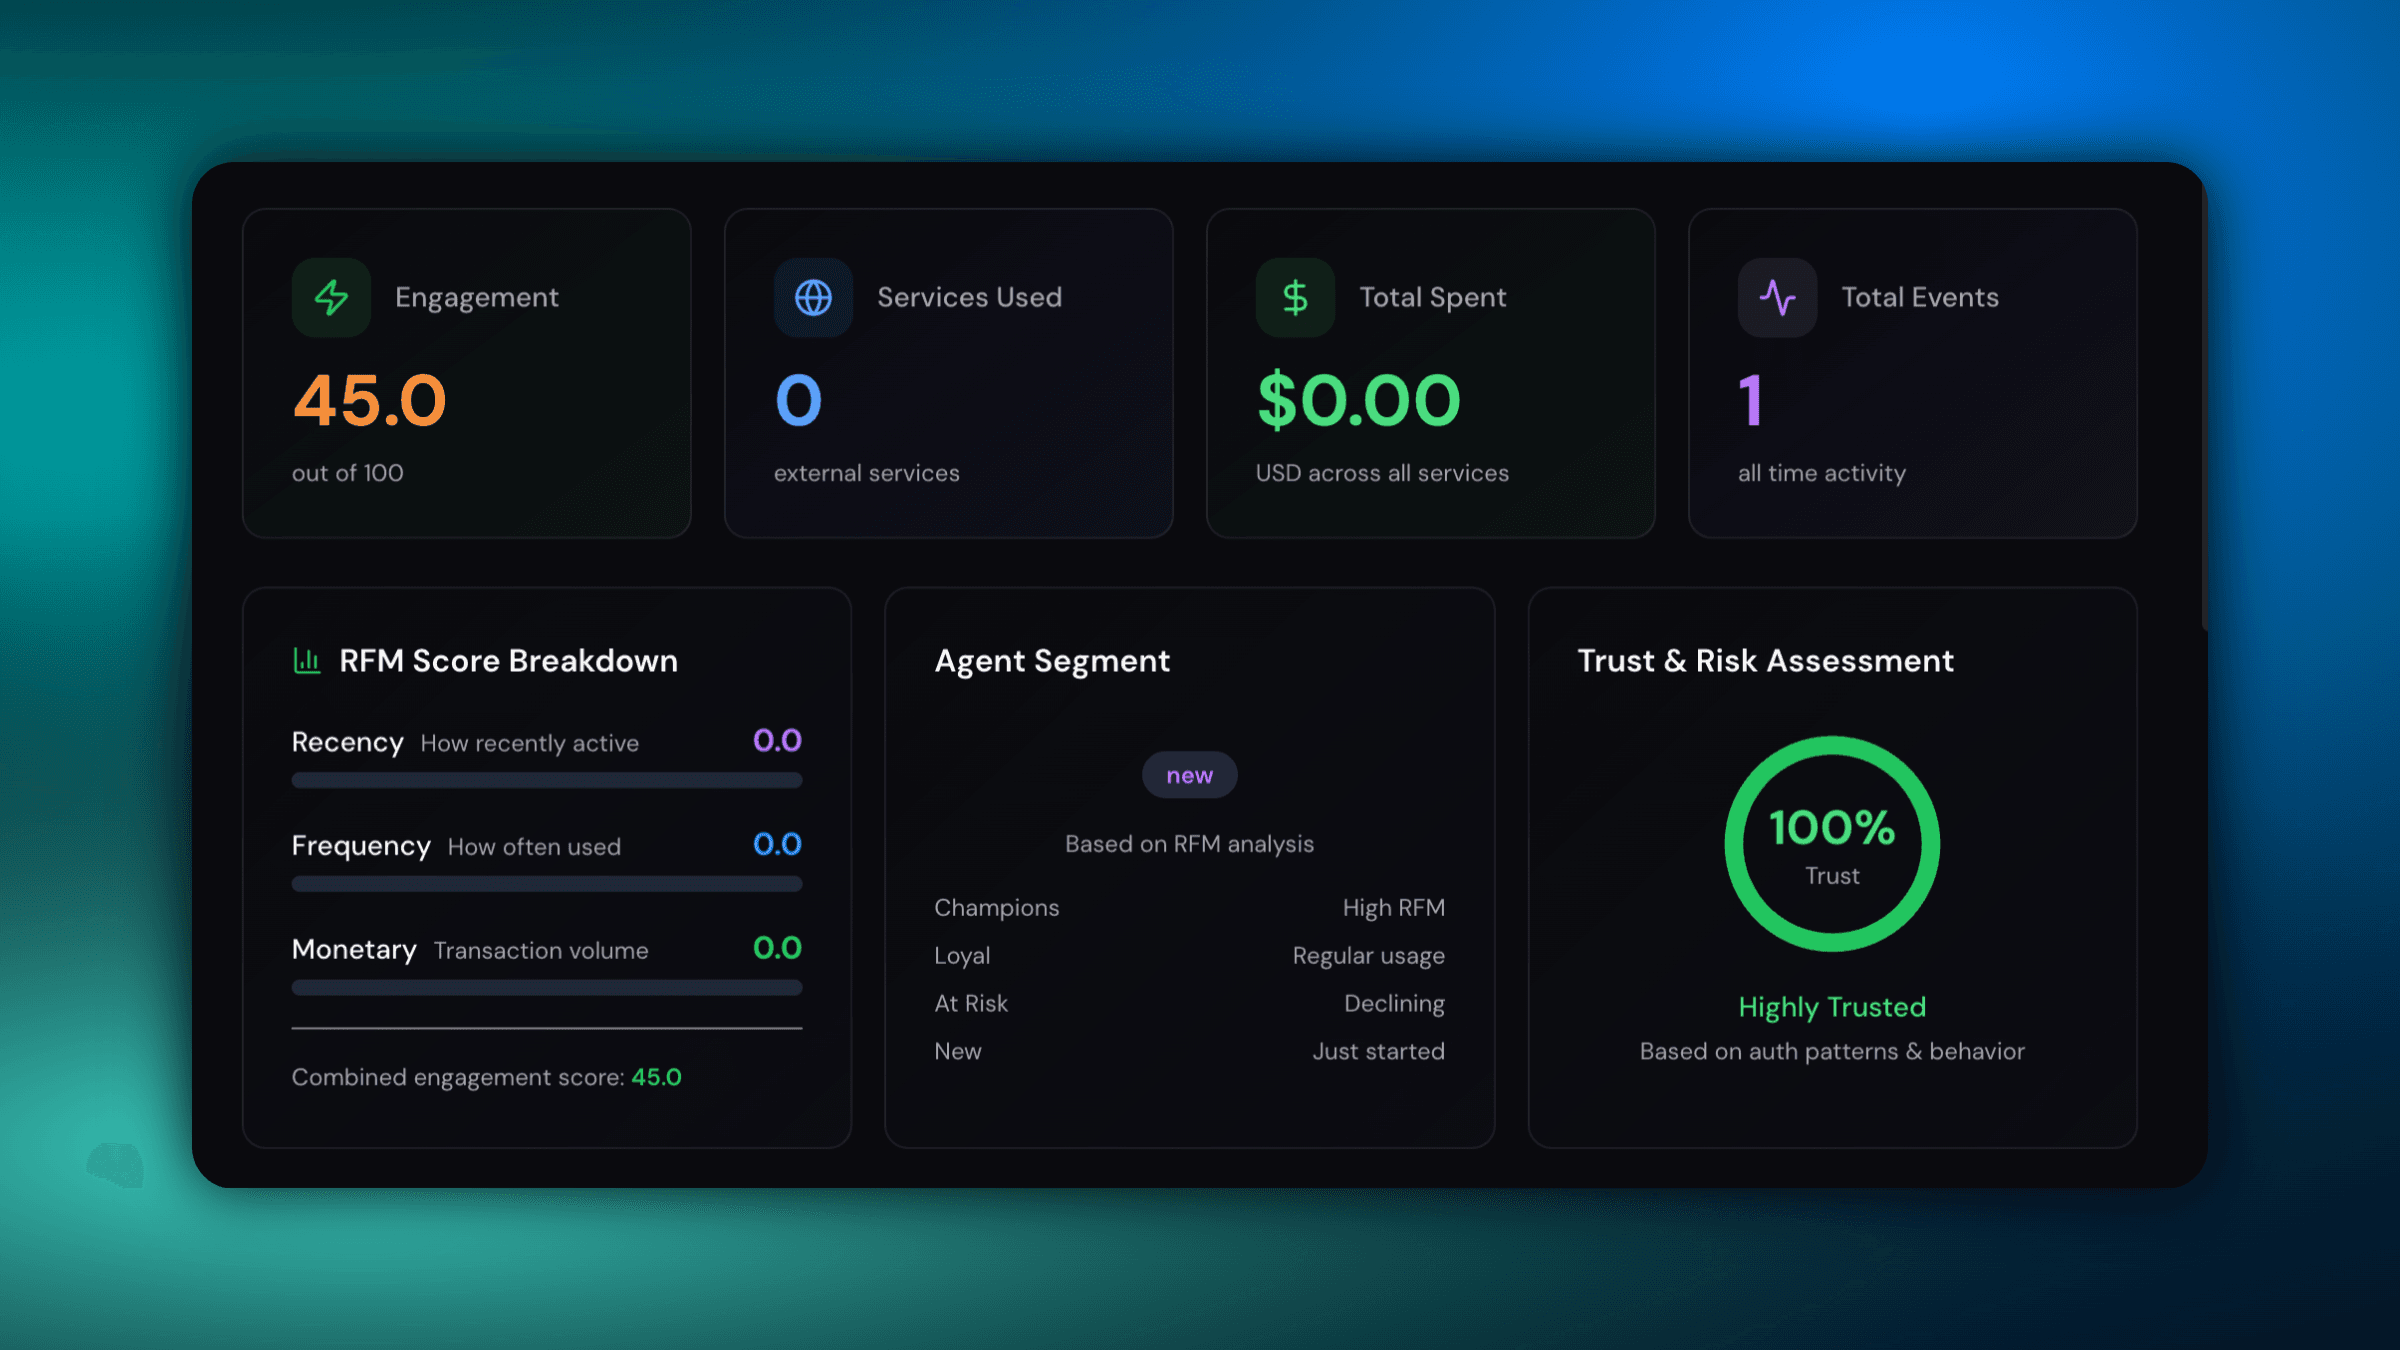
Review analytics and risk
See engagement, spend, and trust signals to guide policy decisions.